树莓派:(3)用seafile搭建私有云

前言

最近,云盘关闭得比较多,曾经许多高调宣称永久的云盘,最后还是说关就关,目前只有百度云盘还算坚挺。云盘一旦关闭,云盘上的资源搬迁给我们带来了很多的烦恼。所以,搭建一个自己的私有云盘还是有必要。

开源免费的云盘有很多,比如:NextCloud,OwnCloud,seafile,minio等。这里,我们使用国产的seafile。seafile使用加密的方式存储,并且客户端也比较丰富。

安装

  1. 下载
    首先,下载seafile到树莓派本地。seafile下载

  2. 解压

1
2
3
4
5
6
mkdir -p /mnt/hd/seafile
mv seafile-server_6.2.5_stable_pi.tar.gz /mnt/hd/seafile
cd /mnt/hd/seafile
tar -xzf seafile-server_6.2.5_stable_pi.tar.gz
mkdir installed
mv seafile-server_6.2.5_stable_pi.tar.gz installed
  1. 安装依赖
1
2
apt-get update
apt-get install python2.7 libpython2.7 python-setuptools python-imaging python-ldap python-urllib3 sqlite3 python-requests
  1. 安装
1
2
3
cd seafile-server_6.2.5
#运行安装脚本并回答预设问题按时提示,在安装过程中会要求输入服务名,ip,端口,管理员邮箱,管理员密码等信息
./setup-seafile.sh

安装完之后,seafile的目录结构如下:

1
2
3
4
5
6
7
8
9
10
11
12
13
14
15
16
17
18
19
20
21
22
23
24
25
├── conf # configuration files
│ ├── ccnet.conf
│ └── seafile.conf
│ └── seahub_settings.py
│ └── seafdav.conf
├── ccnet
│ ├── mykey.peer
│ ├── PeerMgr
│ └── seafile.ini
├── installed
│ └── seafile-server_6.2.5_stable_pi.tar.gz
├── seafile-data
├── seafile-server-6.2.5# active version
│ ├── reset-admin.sh
│ ├── runtime
│ ├── seafile
│ ├── seafile.sh
│ ├── seahub
│ ├── seahub.sh
│ ├── setup-seafile.sh
│ └── upgrade
├── seafile-server-latest # symbolic link to seafile-server-6.2.5
├── seahub-data
│ └── avatars
├── seahub.db
  1. 启动
1
2
./seafile.sh start # 启动 Seafile 服务
./seahub.sh start # 启动 Seahub 网站 (默认运行在8000端口上)

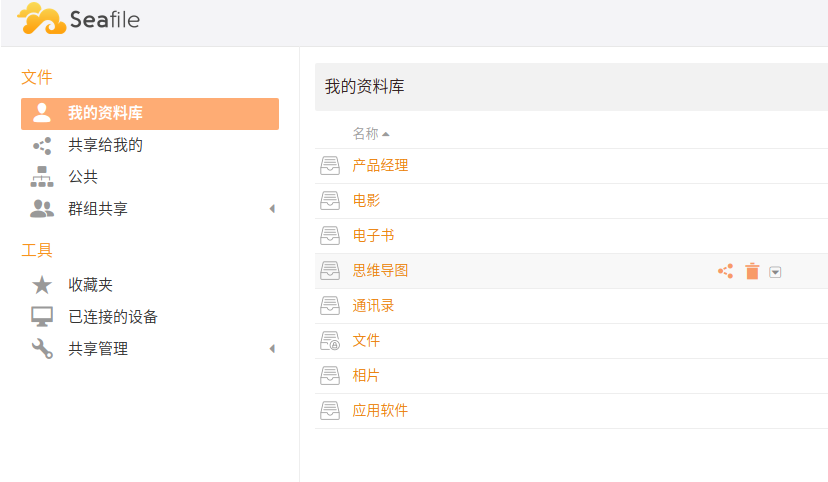
如果运行没出错,打开浏览器,访问 http://ip:8000 ,通过用户密码就可以登录seafile。
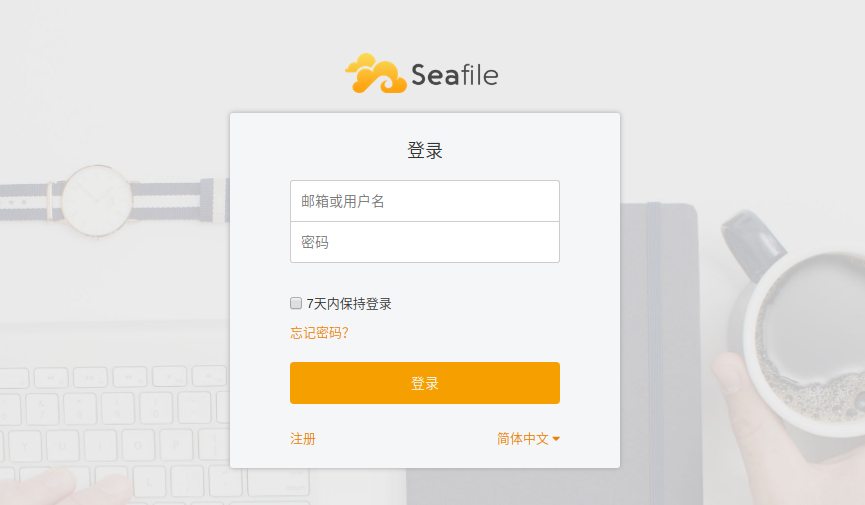
seafile_login

seafile_index

  1. 使用nginx

首先,我们先创建一个link指向/mnt/hd/seafile/seafile-server-6.2.5

1
ln -s /mnt/hd/seafile/seafile-server-6.2.5 /mnt/hd/seafile/seafile-server-latest

在nginx的配置文件添加以下配置:

1
2
3
4
5
6
7
8
9
10
11
12
13
14
15
16
17
18
19
20
21
22
23
24
25
26
27
28
29
30
31
server {
listen 80;
server_name cloud.gogl.top;
proxy_set_header X-Forwarded-For $remote_addr;
location / {
proxy_pass http://127.0.0.1:8000;
proxy_set_header Host $host;
proxy_set_header X-Real-IP $remote_addr;
proxy_set_header X-Forwarded-For $proxy_add_x_forwarded_for;
proxy_set_header X-Forwarded-Host $server_name;
proxy_read_timeout 1200s;
# used for view/edit office file via Office Online Server
client_max_body_size 0;
access_log /var/log/nginx/seahub.access.log;
error_log /var/log/nginx/seahub.error.log;
}

location /seafhttp {
rewrite ^/seafhttp(.*)$ $1 break;
proxy_pass http://127.0.0.1:8082;
client_max_body_size 0;
proxy_set_header X-Forwarded-For $proxy_add_x_forwarded_for;
proxy_connect_timeout 36000s;
proxy_read_timeout 36000s;
proxy_send_timeout 36000s;
send_timeout 36000s;
}
location /media {
root /mnt/hd/seafile/seafile-server-latest/seahub;
}
}

重新加载nginx配置文件后,打开浏览器,访问 http://ip:80 即可。

将seafile映射到外网

如果私有云能在外网直接访问,对于上传和下载文件将非常方便,也可以将文件分享给别人下载。这里,也是用frp来内网穿透,更多内容,请看FRP外网穿透 或者 FRP官方。下面的配置www.xxx.com表示自己的域名。

  1. 配置外网FRP服务端(frps.ini)
1
2
3
4
5
6
7
8
9
10
11
12
13
14
15
16
17
18
19
20
21
22
[common]
bind_addr = 0.0.0.0
bind_port = 5000
log_file = ./logs/frps.log
log_level = debug
log_max_days = 2
vhost_http_port = 5001
vhost_https_port = 5002
dashboard_port = 5003
dashboard_user = admin
dashboard_pwd = xxxxxxx
privilege_mode = false
privilege_allow_ports = 8000-9999
max_pool_count = 30
authentication_timeout = 100

[1457918659]
type = http
auth_token = 111111
bind_addr = 0.0.0.0
listen_port = 8003
custom_domains = www.xxx.com
  1. 配置内网树莓派FRP客户端服务(frpc.ini)
1
2
3
4
5
6
7
8
9
10
11
[common]
server_addr = xxx.xxx.xxx ##服务端ip
server_port = 5000 ##服务端ip
log_level = error
log_file = /mnt/hd/frpc/logs/frpc.log
auth_token = 111111 ##服务商设置的令牌

[1457918659]
type = http
local_ip = 127.0.0.1
local_port = 80
  1. 配置外网服务器nginx
    在外网服务器(即frp服务端的服务器)配置nginx,添加以下内容:
1
2
3
4
5
6
7
8
9
10
11
12
13
14
15
16
17
18
19
20
server {
listen 80;
       server_name www.xxx.com;
proxy_set_header X-Forwarded-For $remote_addr;
location / {
proxy_pass http://127.0.0.1:5001;
proxy_set_header Host $host;
proxy_set_header X-Real-IP $remote_addr;
proxy_set_header X-Forwarded-For $proxy_add_x_forwarded_for;
proxy_set_header X-Forwarded-Host $server_name;
proxy_read_timeout 36000s;
proxy_connect_timeout 36000s;
proxy_send_timeout 36000s;
send_timeout 36000s;
# used for view/edit office file via Office Online Server
client_max_body_size 0;
access_log /usr/local/application/nginx/logs/seahub.access.log;
error_log /usr/local/application/nginx/logs/seahub.error.log;
}
}

重新加载nginx配置文件后,打开浏览器,访问 http:www.xxx.com,就可以在外网登录你的私有云了。